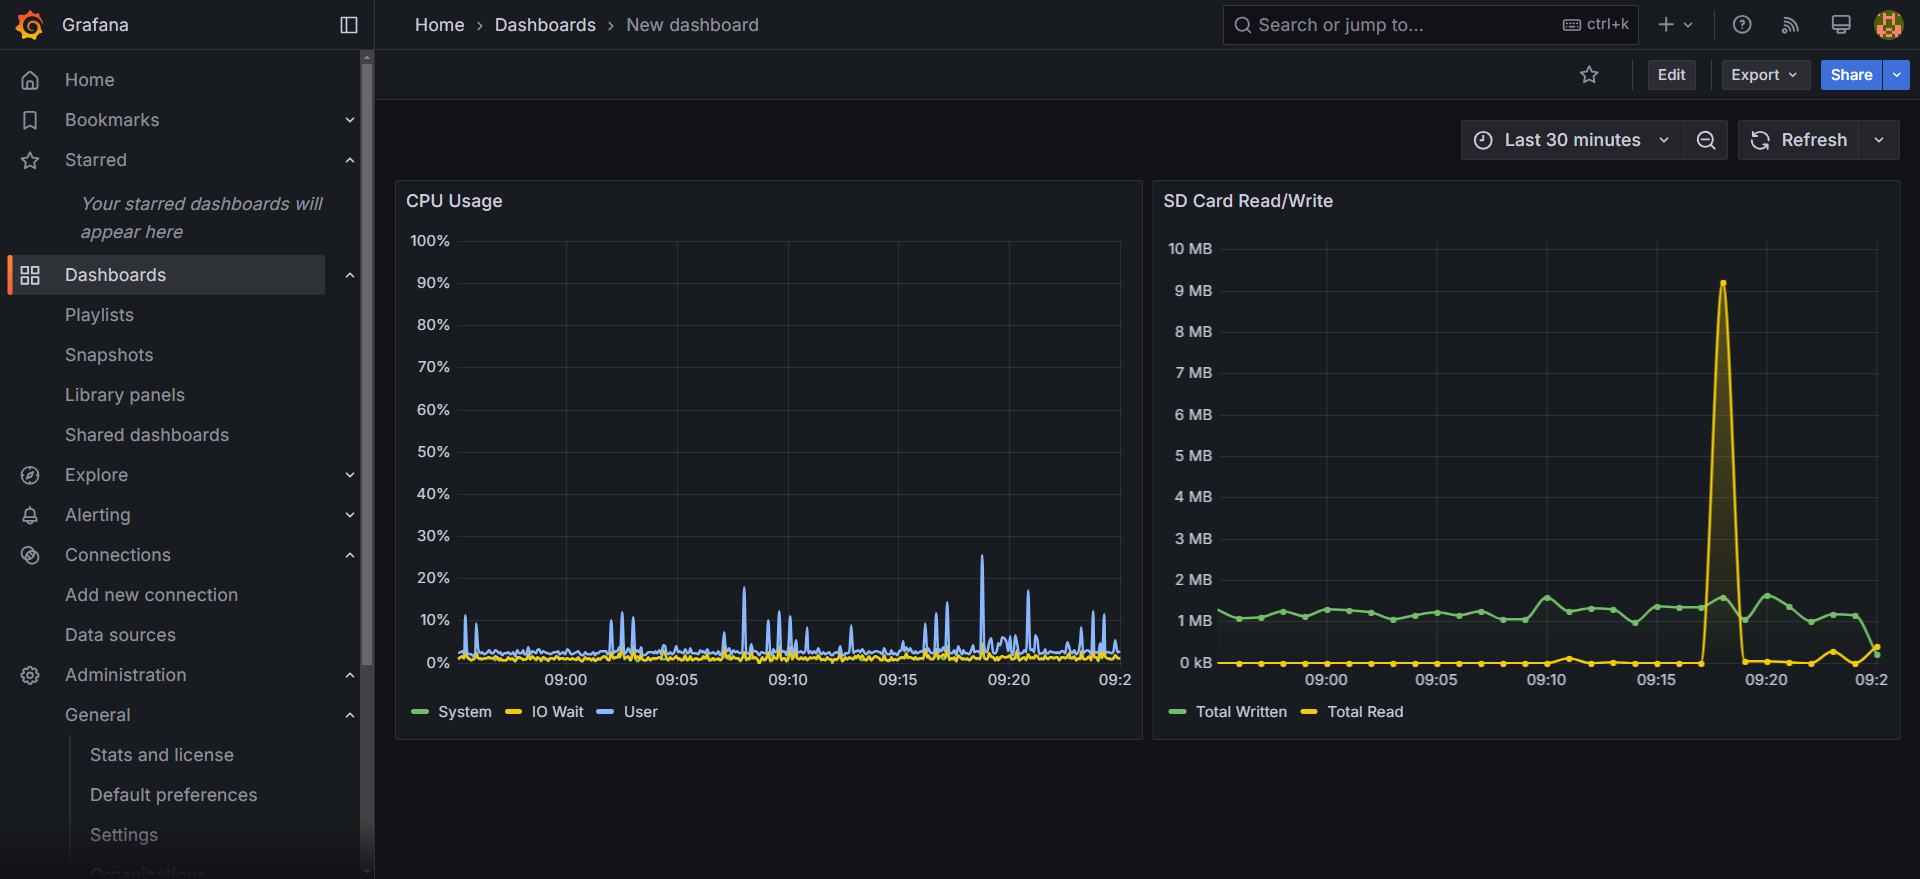
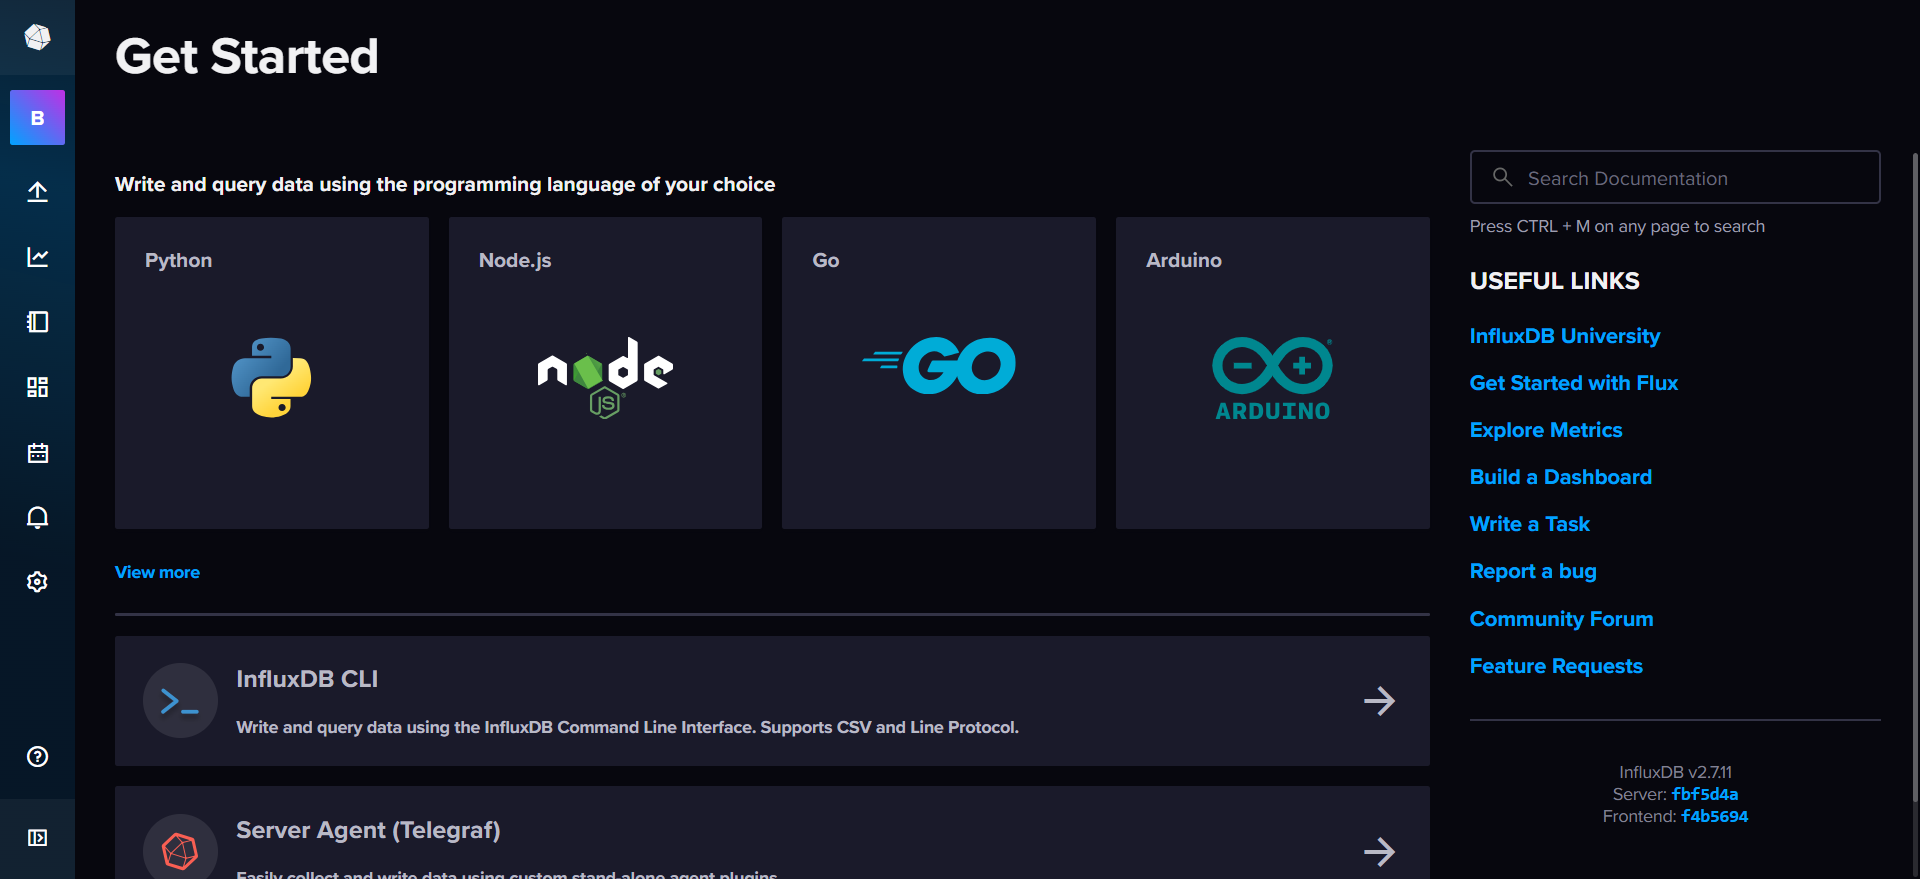
Grafana & InfluxDB

Introduction
In this guide, we will demonstrate how to set up Docker Compose for running Grafana and InfluxDB. We will define the necessary services and configurations to get your monitoring stack up and running in no time.
Before proceeding, ensure you have the following installed on your system, these come preinstalled on the X20 Edge:
Docker Compose Configuration
Below is the docker-compose.yml configuration that you need to set up Grafana and InfluxDB services.
services:
  influxdb:
    image: influxdb:2
    ports:
      - '8086:8086'
    volumes:
      - influxdb-storage:/var/lib/influxdb2
    environment:
      DOCKER_INFLUXDB_INIT_MODE: setup
      DOCKER_INFLUXDB_INIT_USERNAME: ${INFLUX_USERNAME}
      DOCKER_INFLUXDB_INIT_PASSWORD: ${INFLUX_PASSWORD}
      DOCKER_INFLUXDB_INIT_ORG: ${INFLUX_ORG}
      DOCKER_INFLUXDB_INIT_BUCKET: ${INFLUX_BUCKET}
      DOCKER_INFLUXDB_INIT_ADMIN_TOKEN: ${INFLUX_TOKEN} # Your predefined admin token
    restart: always
  grafana:
    image: grafana/grafana:latest
    ports:
      - '3000:3000'
    volumes:
      - grafana-storage:/var/lib/grafana
      - ./grafana-provisioning/:/etc/grafana/provisioning
    depends_on:
      - influxdb
    environment:
      - GF_SECURITY_ADMIN_USER=${GRAFANA_USERNAME}
      - GF_SECURITY_ADMIN_PASSWORD=${GRAFANA_PASSWORD}
      - DOCKER_INFLUXDB_INIT_ADMIN_TOKEN=${INFLUX_TOKEN} # Your predefined admin token
    restart: always
volumes:
  grafana-storage:
  influxdb-storage:
Environment Variables
Ensure that you have the following environment variables defined:
INFLUX_TOKEN: Predefined admin token for InfluxDB.INFLUX_ORG: Name of the organization.INFLUX_BUCKET: Name of the InfluxDB bucket to be created.INFLUX_USERNAME: Admin username for InfluxDB.INFLUX_PASSWORD: Admin password for InfluxDB.GRAFANA_USERNAME: Admin username for Grafana.GRAFANA_PASSWORD: Admin password for Grafana.
You can set these variables in a .env file adjacent to your docker-compose.yml:
INFLUX_TOKEN=xk2z46zVIGSwZbT7UxbvXGYU87mRrvnQkD5rfDKoUfhTxud7zhPv1o1U5VuDwazS3QEqvE1Lih9Cp_5tsWd0Lg==
INFLUX_ORG=BnR
INFLUX_BUCKET=MachineData
INFLUX_USERNAME=admin
INFLUX_PASSWORD=adminadmin
GRAFANA_USERNAME=admin
GRAFANA_PASSWORD=adminadmin
Setting Up
-
Create the Docker Compose file:
Save the provided
docker-compose.ymlconfiguration to a file nameddocker-compose.yml. -
Create the .env file:
Create a file named
.envin the same directory asdocker-compose.ymland add your environment variables. -
Create influxdb.yaml configuration file
Create a file named influxdb.yaml at the path grafana-provisioning/datasources/influxdb.yaml
Add the following content to the file.
grafana-provisioning/datasources/influxdb.yamlapiVersion: 1
datasources:
- name: InfluxDB
type: influxdb
access: proxy
url: http://influxdb:8086
isDefault: true
jsonData:
httpHeaderName1: Authorization
secureJsonData:
httpHeaderValue1: Token ${DOCKER_INFLUXDB_INIT_ADMIN_TOKEN}
password: adminadmin
database: MachineData
user: admin
basicAuth: false
editable: true -
Run Docker Compose:
Now your folder should look like this:
Execute the following command to start the services:
docker-compose up -dThis will download the necessary images, create the containers, and start the services.
Accessing Grafana and InfluxDB
-
Grafana: Navigate to http://ip-address:3000 in your web browser. Log in with the credentials specified in your
.envfile. -
InfluxDB: Navigate to http://ip-address:8086.

Conclusion
You have successfully set up Grafana and InfluxDB using Docker Compose.
For more details on configuring Grafana and InfluxDB, refer to their official documentation.